

Yoga Poses for Hikers
January 10, 2019
Book Focus: ‘Your Spine, Your Yoga’ by Bernie Clark
January 24, 2019Yoga for Your Feet
Whether you suffer from a foot issue such as plantar fasciitis or you’ve spent the night walking in heels, foot pain can affect your whole body if left untreated. While the pain stems from your feet, is often radiates up the body towards your neck. Thankfully, this can be resolved through yoga. In this article, we explore exactly how to use yoga for your feet. Before getting started, make sure your muscles are warm enough. If the room is cold, consider wearing a yoga hoodie or a thick long-sleeved top.
How Can Yoga Ease Foot Pain?
Yoga can help a number of foot conditions by strengthening the plantar fascia and stabilizing the tendons and ligaments in the feet and ankles. If you suffer from flat feet, yoga can help to lift your arches back up and relieve discomfort. Additionally, the practice can release tension in the calf and shin muscles to ease sore feet.
Samasthiti with Rolled Mat
Practicing Samasthiti with a rolled mat helps to reduce strain on the plantar fascia. To practice the asana, begin by rolling up the top part of your mat 3 times. When you’ve done so, stand in front of your mat with your back towards it. One at a time, lift your heels and place your feet onto the rolled-up part of your mat. Your heels should be supported by the mat and the balls of your feet should be touching the floor. Throughout the posture, keep your feet hip-distance apart. Stand tall and touch your palms together in front of your chest. Firm your quadriceps and press down through the balls of your feet. Finally, draw your shoulders down and back and engage your stomach. You are in Samasthiti with Rolled Mat. Hold the posture for around 1 minute for best results.
Talasana
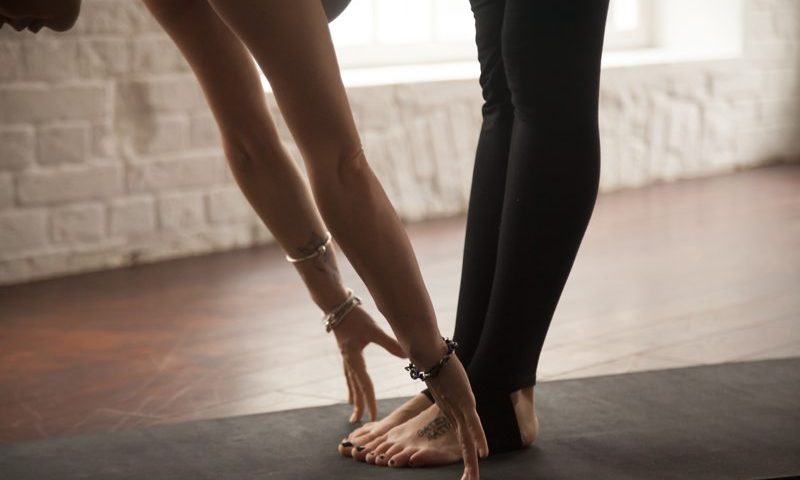
Talasana teaches you how to properly ground down through your feet. Doing so will strengthen the stabilizing muscles and ligaments around your calves, ankles, and plantar fascia. To practice the asana, begin standing with your feet together. Touch your big toes together and leave half an inch of space between your heels. Root down through your feet by raising your toes and spreading them apart. Press your heels and the balls of your big toe into the mat. If you’re practicing correctly, you should feel a lift through the arches of your feet. Reach your arms above your head and drop your shoulders away from your ears. Finally, engage your quadriceps and draw your belly button in towards your spine. You are in Talasana. Hold the posture for 30 seconds whilst breathing deeply.
Tree Pose
Tree Pose also works to strengthen and stabilize the muscles around the feet and ankles. To practice the asana, begin standing with your feet together. Next, touch your palms together in front of your chest and engage your abdominal muscles. Move your weight onto your left foot and root down by pressing firmly through your heel and the ball of your big toe. Lift your right foot off the ground and bend your knee before placing your foot on the inside of your left calf. You are in Tree Pose. Hold the pose for 30 seconds before switching sides.
Malasana
Malasana stretches the calves while strengthening the plantar fascia. Additionally, the asana stabilizes the tendons and ligaments in the ankles. To practice the posture, begin standing tall with your feet hip-width apart. Turn your toes out 45 degrees and bring your palms together in front of your chest. Root down through your feet by lifting your toes and pressing down through the ball of your big toe and heel. When you’re stable, bend your knees and lower your hips towards the mat. Once your hips are low, use your upper arms to open your thighs while simultaneously squeezing your thighs together. Finally, open your chest and draw your shoulder blades down and back. You are in Malasana. Hold the pose for 30 seconds whilst keeping your core engaged.
Downward Facing Dog
One of the most popular yoga poses of all time, Downward Facing Dog relieves tension in the calves, ankles, plantar fascia, and hamstrings. To begin, stand tall with your feet shoulder-width apart. Bending at the waist, slowly lower your torso forward until your body forms a triangle. Your hands and feet should now be securely on the ground. If your shoulders or hamstrings feel too tight for the pose, try bending your knees slightly to make the posture easier. Spreading your fingers for additional balance, move your head forward until it is in-between your upper arms. For maximum benefit, move your shoulders away from your ears. You are in Downward Facing Dog. For a deeper stretch, try extending your tailbone up and back, breathing deeply whilst doing so. While the recommended duration is 2 minutes, Downward Facing Dog can be held for as long as it feels comfortable.
Toes Pose
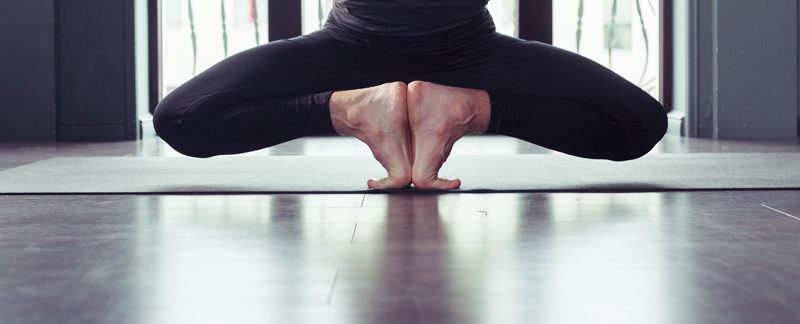
Toes pose helps to release tension in the plantar fascia and the ankles. To practice the asana, begin on your hands and knees in a tabletop position. Keep your legs together and tuck your toes under. Keeping your toes in place, walk your hands back towards your thighs and sit back on your heels. Continue walking your hands back until they are resting on your thighs. You are in Toes Pose. After a few seconds, you should begin to feel the plantar fascia releasing. If you have tight feet, this posture can feel a little intense. While discomfort is normal, if it becomes painful then come out of the asana.
In Summary
If you’re suffering from sore feet, practice the poses above for immediate relief. For best results, keep your muscles warm before you practice. If you’re heading to the studio, be sure to wrap up in a yoga top and some cozy socks. This will allow your muscles to warm up on the journey, so the socks can be removed when you get to class.
